I thought I was almost done, having reattached the tailpiece and neck to the pot I went to insert the head and found it wouldn't fit. :-o I'd previously fitted it into the pot before reassembling it. It'd been a squeeze but had been doable. Now it was all reassembled it wasn't going in at all. Two of the brackets were 2 or 3mm over the edge of the pot. Levering it into place would've probably damaged the pot and maybe even buckled or broken the tension ring. I was going to have to make eight new slightly smaller brackets for an easier fit. Luckily I still had most of the flat rod I'd used to make the first two brackets from. As before the first thing I needed to do was thin it down.
Clamping it in two tiny vices I started making a cut right along the length to give the rod a width of just over 5mm. The first Dremel cutting disc fell apart not very long after starting, the rest managed a few inches before they were too small to continue.
After cutting the width of the rod I then cut out nine 7-8 cm lengths. They were longer than I needed but as before I planned to cut them down after bending them. I only needed 8 brackets but decided to make a spare just in case I made an error on one.
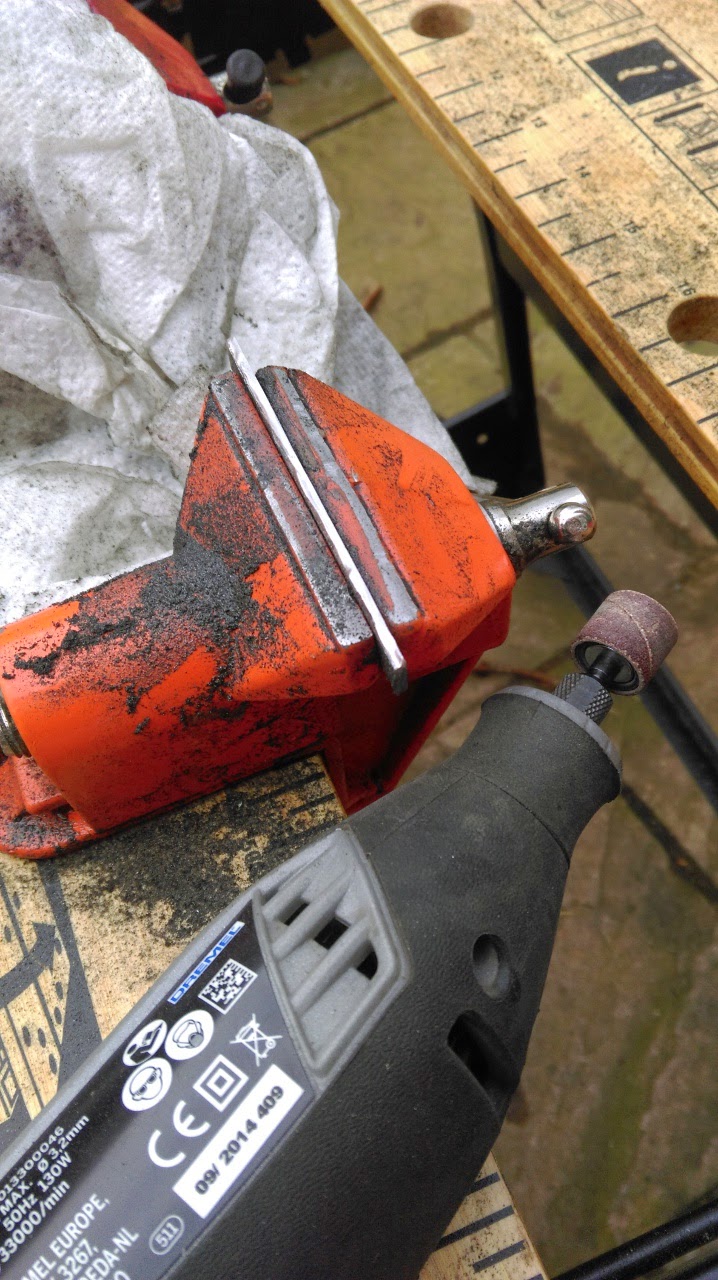
With the rough blanks cut I then used a grinding cylinder thing to finish getting them the right size and smooth off the cut edges.
That done I bent the brackets in the vices using one of the old brackets to measure the distance between each bend.
That done I trimmed the brackets to size then drilled the holes and countersinks into each bracket. I used the same drill bits as before but using two vices and two brackets in each sped things up compared to when I made the first two brackets. To make the head a better fit into the pot I moved the hole the hex bolts screwed into 1mm towards the outer edge of the bracket.
I tapped new 3/16" threads in the the hole at the bottom of each brackets where the hexbolts will screw in.
The shiny new brackets were cut to size. I used a lot of metal cutting lubrication for the whole process.
The brackets were attached to the hexbolts and the head tested for fit in the pot. It was spot on, although the edges of the bracket heads protruded beyond the edge of the pot in some places.
I marked the protruding edges in blue ink then removed the head again. To remove the head I threaded a string below two of the brackets and pulled it up.
I filled the bracket tabs down to size with the Dremel. The new brackets were very shiny. Not the kind of lustre you'd expect on an instrument of it's age so I decided to force a patina on the new brackets.
I left them for a few hours with some vinegar soaked tissues paper on the metal then gave them a rinse and dried them before lightly sanding them with 2000 grit paper. In the picture below the thee brackets on the left are my new ones, the shiny one is the spare one I made and the one on the right is the original bracket.
The patina only mattered in the top visible part of the brackets, the lower part would be hidden by the metal hoops and vellum. Having got the patina I wanted I gave the brackets a spray with clear acrylic sealer to protect it and stop it ageing further. I used the same satin finish I'd used for the pot. I gave the a couple of coats then set them aside to dry.


No comments:
Post a Comment